Your First Project
Go from your idea to live app by entering requirements, answering clarifications, approving the PRD, and generating your build.
Your first project should solve one clear problem and be usable on day one. In AgentQ, you create a project to build and deploy your app. This guide shows the full flow from setup to generation.
Why this matters
Following a structured workflow helps you avoid rework, get a better PRD, and ship faster.
Before you start
Prepare these three inputs before you click New Project:
- who the project is for
- what core user workflow you need
- what business result the deployed app should deliver
Tip: Keep version one focused on core workflow clarity, not polished UI details.
Step-by-step guide
-
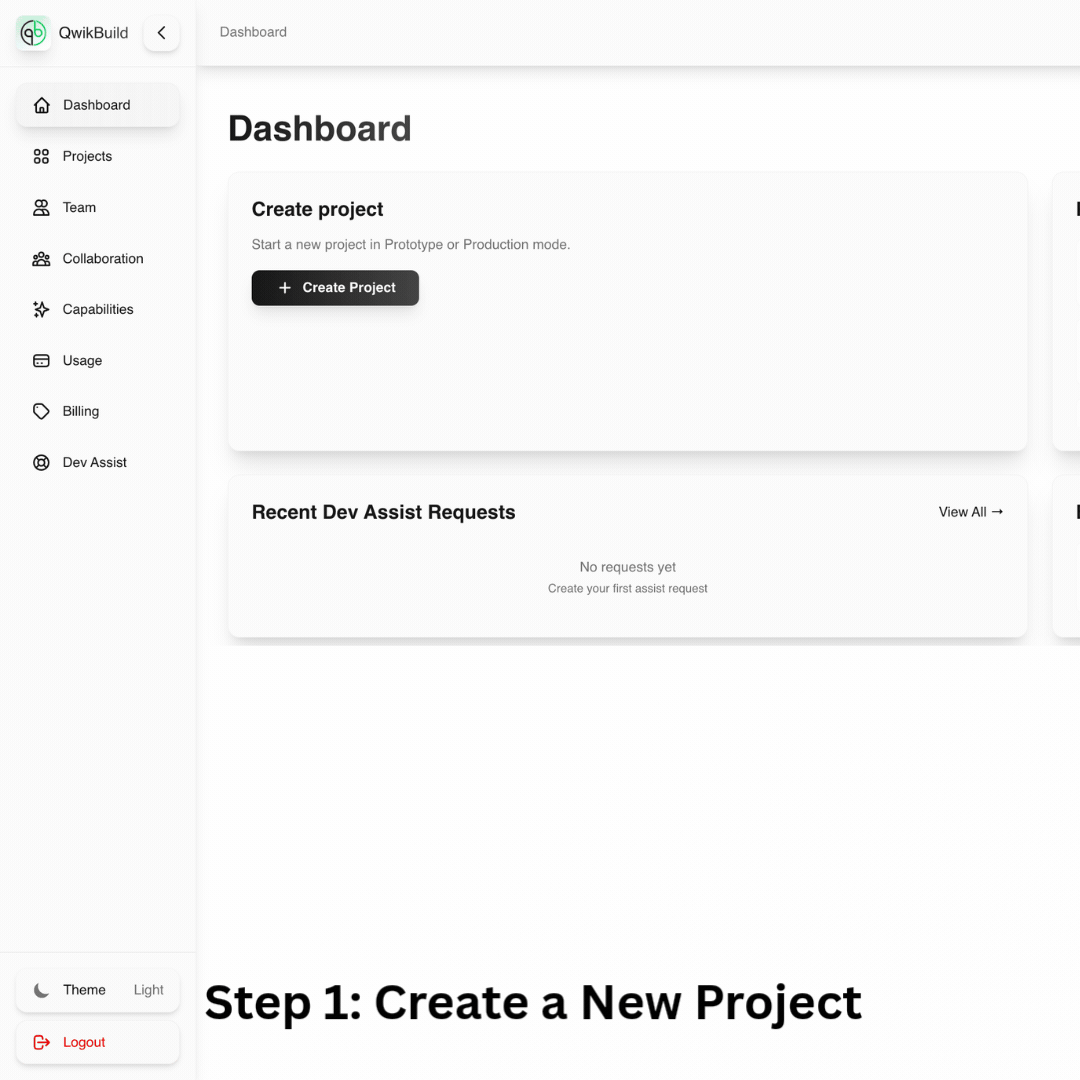
Create a new project
- Click New Project.
- Enter a clear project name.
- Add requirements in the text box.
- Optionally upload an image for reference.
- Optionally attach a detailed requirements document.
-
Choose the agent mode
- Select Prototype for rapid validation and early feedback.
- Select Production for launch-ready hardening and stricter quality controls.
-
Open AgentQ Chat and answer clarifications
- After clicking Create Project, you land in AgentQ Chat.
- AgentQ processes your input and asks important clarification questions.
- Questions are shown in MCQ format.
- If none of the options fit, use the custom text answer option.
-
Review the generated PRD carefully
- After you answer all questions, AgentQ generates a detailed PRD.
- The implementation follows this PRD closely, so review it line by line.
Before approving, verify:
- required features are included
- user roles and workflows are correct
- integrations, constraints, and scope are accurate
Decision rubric:
- Approve and Generate App when the PRD matches your intended product.
- Request Changes when details are missing, incorrect, or unclear.
- Repeat review until the PRD reflects what you want built.
-
Generate and wait for build completion
- After approval, click Generate App.
- AgentQ acknowledges your request and begins building.
- Typical completion time is around 5-10 mins in prototype mode and 1-3 hrs in production mode.
- When complete, AgentQ shares the deployed app link.
-
Test, refine, and escalate when needed
- Test the deployed app with realistic user flows.
- If the app's behavior isn't as expected, provide clear, specific feedback in AgentQ Chat.
- If repeated iterations still miss core requirements, use developer assist.
Prompt quality quick guide
Use short, specific requirements, then refine in small iterations.
For complete examples of weak vs strong prompts and bug reports, see Prompting Best Practices.
Common situations
"The clarifying options do not match my case"
- Use the custom text answer option in AgentQ Chat.
- Be explicit about the business rule and expected behavior.
"The PRD is close but not correct"
- Request PRD changes before clicking Generate App.
- Fix one section at a time (scope, roles, workflows, integrations).
"The generated app missed key behavior"
- Compare your issue against the approved PRD first.
- If PRD was correct, provide a precise fix request.
"I need production quality checks"
- Use Production mode and validate critical flows.
- Keep E2E testing in scope for release-critical paths.
"I need advanced custom behavior"
- Iterate with focused requests first.
- Use developer assist for complex integrations or production-critical needs.
When to escalate to developer assist
Use developer assist immediately if you are dealing with:
- payment or billing integrations
- complex third-party integrations
- production-critical blockers
- repeated failed iterations on the same issue
Launch readiness
Before sharing your app widely, run through Launch Readiness Checklist.